
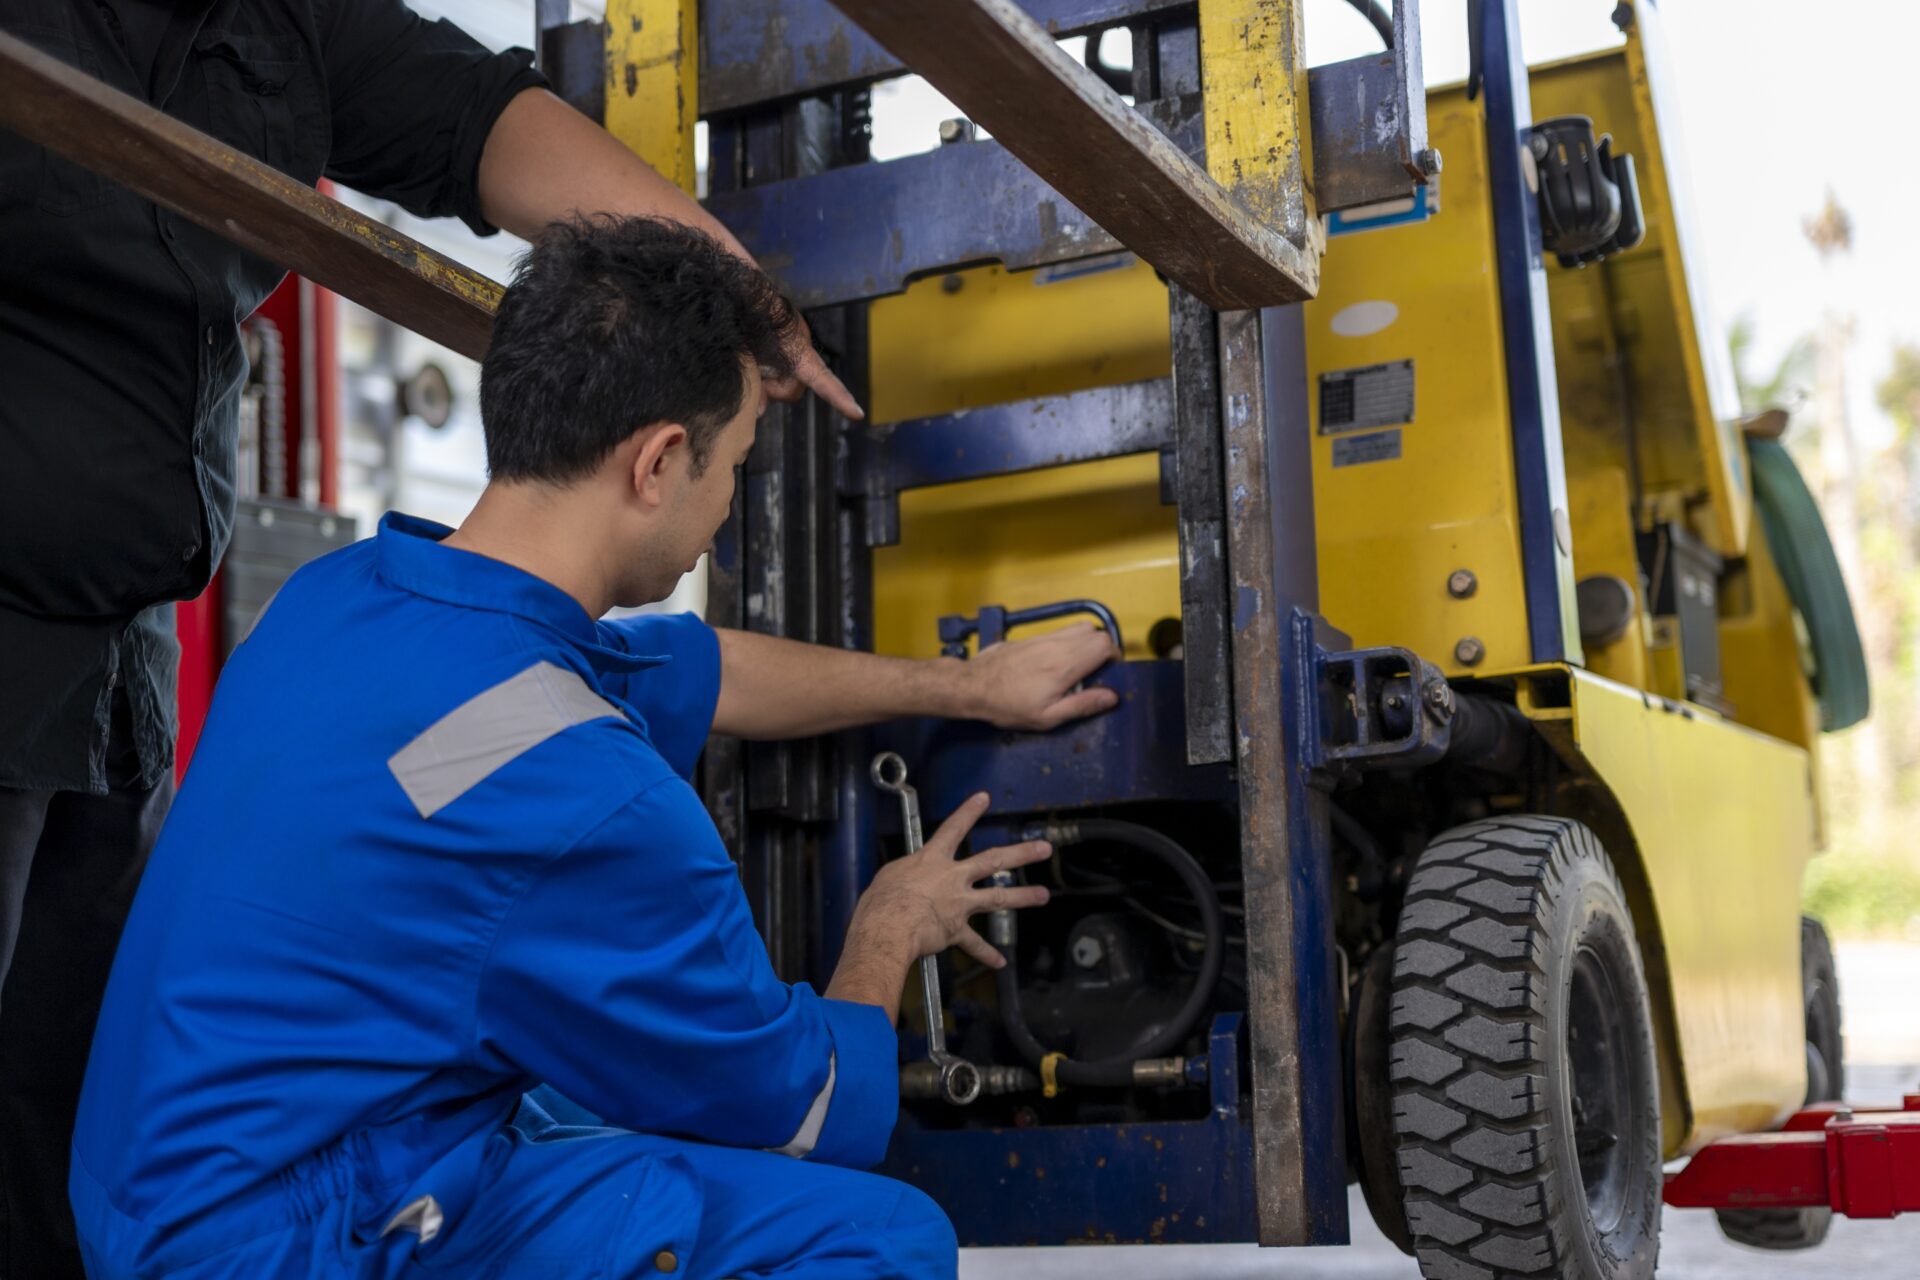
Forklift positioning pins (or locking pin kits) might be small components, but they play a vital safety role in your everyday operations. They lock your fork arms firmly in place along the carriage, keeping loads balanced and preventing forks from sliding unexpectedly while carrying heavy cargo.
When a pin breaks, wears out, or loses spring tension, replacing it immediately is essential. Follow this step-by-step guide based on Ichinen USA Corporation’s video walkthrough to replace your pin kit quickly and safely.
Tools & Equipment Needed
Before starting, grab the following basic items:
- Replacement Pin Kit: Match the carriage class of your fork (e.g., Class II, III, or IV).
- Pliers & Hammer
- Grease or Lubricant: Any general shop grease, oil, or Vaseline works.
Step 1: Remove the Fork Arms from the Carriage:
- Apply Lubricant: Dab a little grease along the top rail of the carriage to help the forks slide smoothly .
- Unlock the Pin: Flip the pin lever straight up into the unlocked position.
- Align with the Center Notch: Slide the fork arm to the center of the carriage where the bottom notch is located. Pull up slightly so the bottom hook clears the notch.
- Lower to the Floor: Using the forklift controls, gently lower the carriage until the forks come free from the top rail and rest stably on the ground.
Step 2: Extract the Old Pin Mechanism
Work from the back of the unmounted fork arm:
- Keep the lever standing straight up.
- Grip the pin with pliers and pull firmly until the old assembly releases.
- The old spring and stop pin will drop out from the bottom.
Step 3: Assemble & Install the New Pin Kit
- Prep the Spring: Slide the spring over the top of the new stop pin (the larger head sits at the bottom).
- Insert into the Mounting Hole: Push the pin and spring combo up into the bottom hole of the fork arm. Ensure the slit at the top of the pin sits horizontally.
- Attach the Lever: Place the locking lever into the slit and line up the small pin holes.
- Secure the Roll Pin: Push the small roll pin into the hole until it catches lightly, then use a hammer to tap it flush into place.
Step 4: Reattach and Lock the Forks
- Remount: Drive the forklift forward slowly, positioning the top carriage rail under the top fork hooks, then raise the carriage slightly off the floor.
- Seat the Bottom Hooks: Slide each fork toward the center notch until the bottom hook slips securely back over the rail.
- Lock in Place: Adjust the forks to your desired width, then push the top lever down flat.
Safety Check: After locking the lever down, give the fork arm a quick jostle side-to-side. You should hear an audible “click” as the pin drops into the carriage notch, confirming it’s fully locked.
Need Replacement Parts?
Keeping a spare pin kit in your maintenance shop ensures zero unnecessary downtime when pins show signs of wear. If you have questions about choosing the right class kit for your equipment, reach out to us and we will be happy to help guide you.